The analysis phase begins as soon as the customer’s specification are received. As part of a process of permanent consultation, the engineers and technicians draw up a preliminary study that defines the broad lines of the project. The fruit of this first step, essential to the rest of the process, is immediately presented for validation. After validation, the next steps are defined by the engineers, then the production engineering department organises and plans the manufacturing phases.
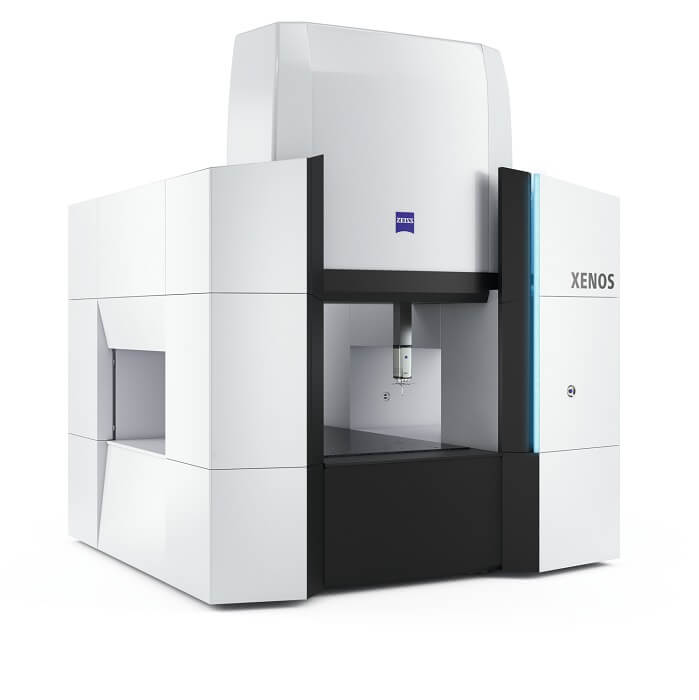
THE FIRST ZEISS XENOS CCM SOLD IN FRANCE TO BE INAUGURATED AT MICRORECTIF
The ZEISS XENOS coordinate measuring machine lends itself to applications in all fields where extreme precision is demanded, whether it be measuring labs, aerospace or the optical industry. The high-end machine combines precision at the limits of what is technically feasible with a measuring range of about one cubic metre.


