METROLOGY LABORATORY

Although MICRORECTIF used to use many conventional means of control, the company rapidly turned to more reliable precision and generally state-of-the-art equipment.“The Prismo brings a high level of reliability and repeatability to inspections, just like our grinding machines”We can also carry out subcontracted inspection and control work in our metrology lab.

Laboratoire métrologie :

Gestion de la température : 20°C ± 0,3°C
Gestion de l’humidité : 50% ±10%
Contrôle tridimensionnel
Rugosité sans contact Contrôle de profil – circularité
Banc de mesure au nanomètre

Caractéristiques :

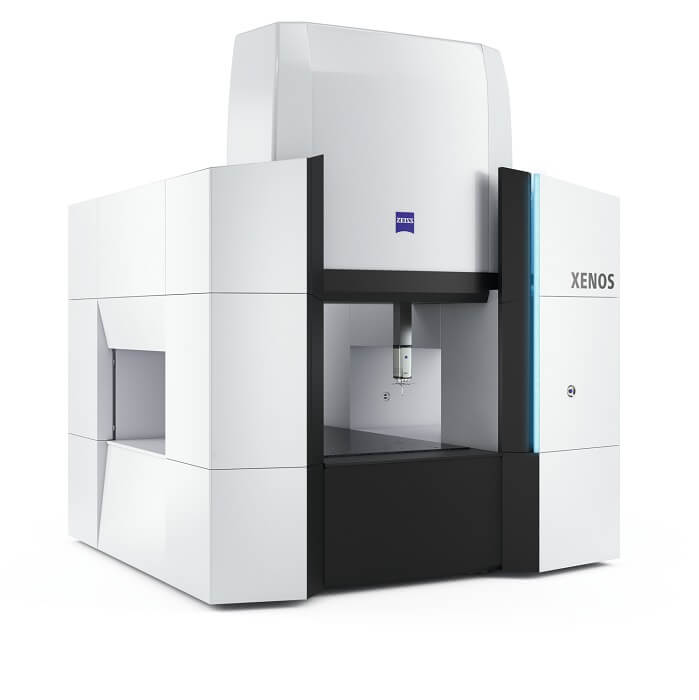
1 Machine à mesurer Tri-dimensionnelle ZEISS XENOS Certification DAKKS Précision : 0.3µm sur le volume X900 – Y1500 – Z700

1 Machine à mesurer Tri-dimensionnelle ZEISS PRISMO Tête Vast Gold et Plateau tournant RT-AB Capacité de mesure X900 – Y1500 – Z700 Précision : 0.9 µm + L/350mm

1 Machine à mesurer Tri-dimensionnelle ZEISS PRISMO Tête Vast Gold et Plateau tournant RT-2 Capacité de mesure X900 – Y1200 – Z700 Précision : 0.9 µm + L/350mm

1 Poste de mesure circularité, cylindricité, battement TAYLOR HOBSON TALYROND 585H

Capacité de mesure Ø350 – Z750 / Contrôle rugosité circulaire et transversale / Précision circularité : 0.015 µm

1 Poste de mesure profil linéaire, mesure état de surface avec contact ZEISS TSK SURFCOM 5000 Longueur de palpage : 200mm x Z500mm Précision : ±0.4 µm /200mm

1 Poste de mesure état de surface sans contact TRIMOS TR-SCAN

1 Banc de mesure linéaire en 2 points TRIMOS LABCONCEPT-NANO Capacité de mesure : 600mm Précision : 0.07 µm + L(mm)/2000

3 Machines à mesurer Tri-dimensionnelle ZEISS DURAMAX Capacité de mesure X500 – Y500 – Z500 Précision : 2.4 µm + L/300mm

MICRORECTIF

Vous recherchez un sous-traitant pour du contrôle dans notre laboratoire de métrologie, CONTACTEZ-NOUS.

News

En savoir plus

Le 20 March 2020

THE FIRST ZEISS XENOS CCM SOLD IN FRANCE TO BE INAUGURATED AT MICRORECTIF

The ZEISS XENOS coordinate measuring machine lends itself to applications in all fields where extreme precision is demanded, whether it be measuring labs, aerospace or the optical industry. The high-end machine combines precision at the limits of what is technically feasible with a measuring range of about one cubic metre.

En savoir plus
En savoir plus

Le 6 February 2020

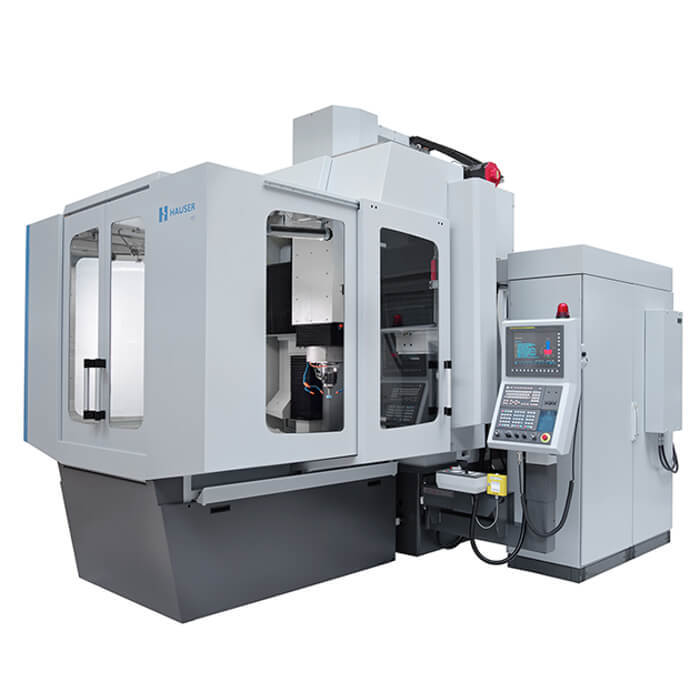
ARRIVAL OF THE NEW JIG GRINDING MACHINE, A HAUSER H55-400

With this new acquisition, we have added large-scale coordinate grinding to our range of skills and services.

En savoir plus
En savoir plus

Le 6 February 2020

INTRODUCTION OF A NEW ERP AT MICRORECTIF

The existing information system was no longer able to keep up with the sustained growth of the company’s business over the last few years, and it was not in line with its ambition to gain ISO 9100 certification in the next few years.

En savoir plus